I've had some friends as of late express interest in getting into the art of perler beads, and I have
also had people ask for more blog posts, so I figured I'd be extra efficient today.
First, let me give you a very quick background on beads.
There are three big brands of beads available that can be used to make the sorts of pieces I have been posting on my blog for the last (nearly) two years: Perler, Hama, and Nabbi. Perler is almost exclusively available in the U.S., while Nabbi and Hama are more widely distributed in Europe. To date, I have only purchased Perler beads, valiantly resisting the temptation of expanding my color palate. Therefore, I am really only an expert (of sorts) on Perler beads, not Hama or Nabbi. However, I have linked all three official stores below in case anyone is interested in looking at other brands.
Perler
Hama
Nabbi
That being said, let's jump in.
Main supplies you need for making awesome bead art:
- beads
- trays
- iron
- parchment paper (NOT wax paper)
- storage containers of some kind
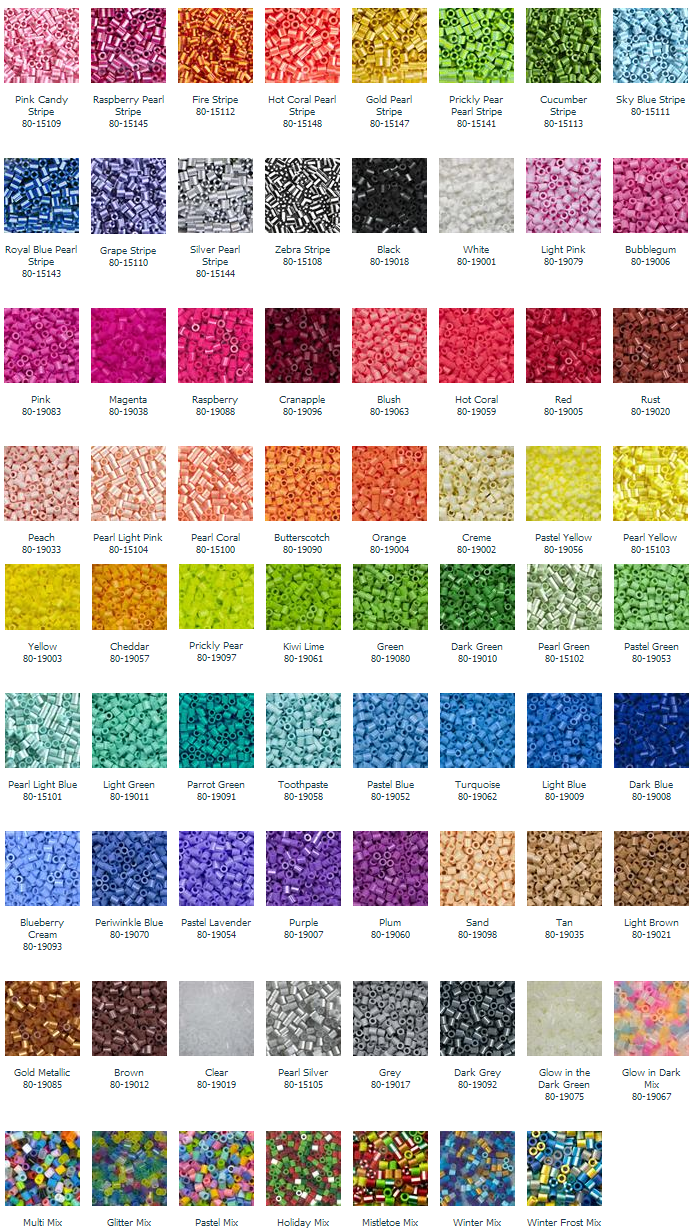
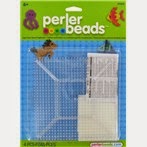
Perler beads are sold three main types of packaging: in mixed buckets, each holding up to 22,000 beads, in trays with 250 beads of each color in little compartments, or in pre-sorted bags of 1000 beads each.
OPTION ONE
As you might guess, it is much more cost effective to purchase the mixed buckets than the individual colors based solely on cost per bead, but if you decide to start with mixed buckets, be warned that you will, at some point, need to sort them (or spend quite a bit of time digging for that one color you really need right now). Some people really enjoy sorting. If that's you, hooray! Buy a bucket. If you aren't sure, buy a small bucket. They come in
11k or
22k sizes and are often available at Joann Fabrics or Michael's. For the love,
use a 40% off coupon if you can find the buckets at either store. Joann and Michael's
always have 40% off coupons (or sometimes 50% off). You can get a 22k bucket at Joan Fabrics for $14.99 ($24.99 retail minus 40%). Otherwise, if your local stores don't have the buckets, you can get them at the links off Amazon above (not quite as good of a deal though). These mixed buckets are a great way of getting a good array of colors without dropping a fortune. The buckets come with the following colors:
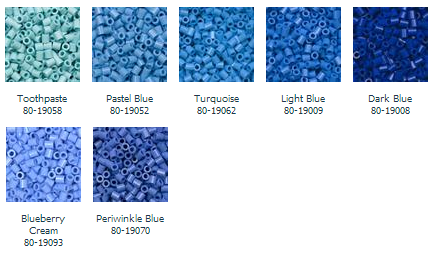
Black, blush, brown, butterscotch, cheddar, clear, dark blue,
dark green, grey, hot coral, kiwi lime, light blue, light brown, neon green, neon
orange, neon pink, neon yellow, parrot green, pastel green, pastel lavender, pink,
plum, purple, raspberry, red, tan, toothpaste, turquoise, white, yellow.
You probably don't care about that list now, but you might later.
Keep in mind that if you buy buckets, eventually you will still want to augment your color selection by buying the individual 1000 count bags, because only about half the colors are in the bucket.
The buckets come with a piece of ironing paper, which can be reused many times. Eventually though it will start to get kind of brown and crispy, at which point it probably should be thrown away.
Presorted trays are also available at Joann Fabrics or Michael's if you are lucky. Again, use a 40% off coupon if you go this route. You won't get as many colors, and you do pay more per bead than the mixed buckets, but they are pre-sorted. Each tray has 12 colors (250 of each) for a total of 4000 beads. (There are a few trays with 6 colors/250 of each as well, though these are harder to find.) To see all the options for bead trays, browse
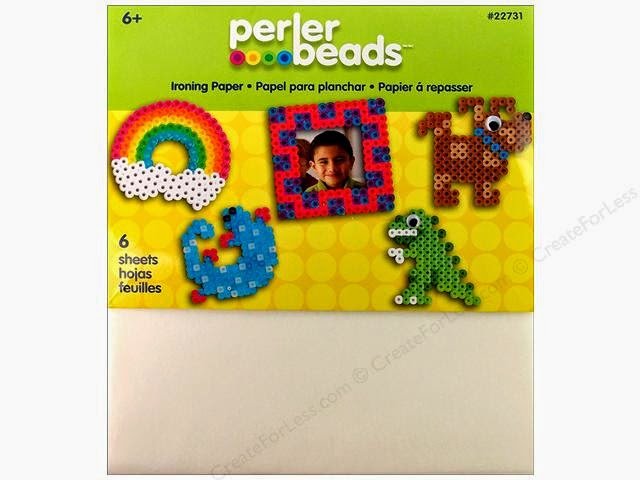
here on Perler's official site. These trays normally retail for $12.99 at craft stores. No ironing paper is included, but if you have parchment paper in your kitchen, that will do the trick. More on that later.
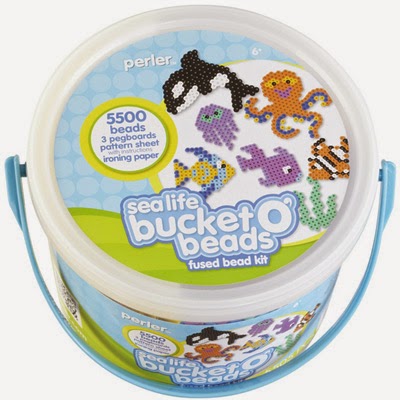
It is worth noting that Perler also offers smaller activity buckets with ~5,000 beads and a few small trays. These are usually around $10 and come with maybe 6-10 colors of beads (it's been a while since I bought one so I don't remember exactly). They are typically themed. I bought one or two but for the most part I didn't think they were a very good deal.
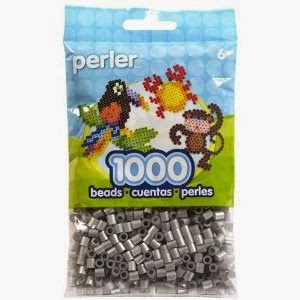
Individual bags are by far my favorite way to buy beads. If you go this route, the most cost effective way to do so is to buy them
directly from Perler's website. Each bag retails for $2.99 in craft stores, but they only cost $1.99 per bag if you purchase more than 6 at that link. Normally shipping is only free on orders over $60, but if you put in the code BEADS25 at checkout, you can get 25% off AND free shipping at $45. Not too shabby. That drops the price to $1.49 per bag, which is the cheapest I've been able to find anywhere. If you buy bags in craft stores for $2.99 with a 40% off coupon, it's not too much more, but you can only buy one bag per coupon. I will do that if it's an emergency and I need a certain color the same day, otherwise I get all my beads off that website.
As a side note, you will need to get 23 bags of beads to hit $45 and get free shipping with BEADS25. If you order 23 bags, your total will be $34.27 pre-tax. That gets you 23,000 beads - and you can see it is more expensive than the mixed buckets, but you don't have to do ANY sorting when they arrive. Plus the individual bags are the only way to get certain colors.
If you do decide to branch out into other brands of beads, I hear there is an ebay seller who imports beads from Europe as well as a fourth brand from China called Artkal (rumor has it Artkal is the overseas manufacturer for Perler beads sold in the US, but I don't know how true that is.). Here's
her shop. If I ever decide to expand to Nabbi, Hama, or Artkal, I'll probably order through her.
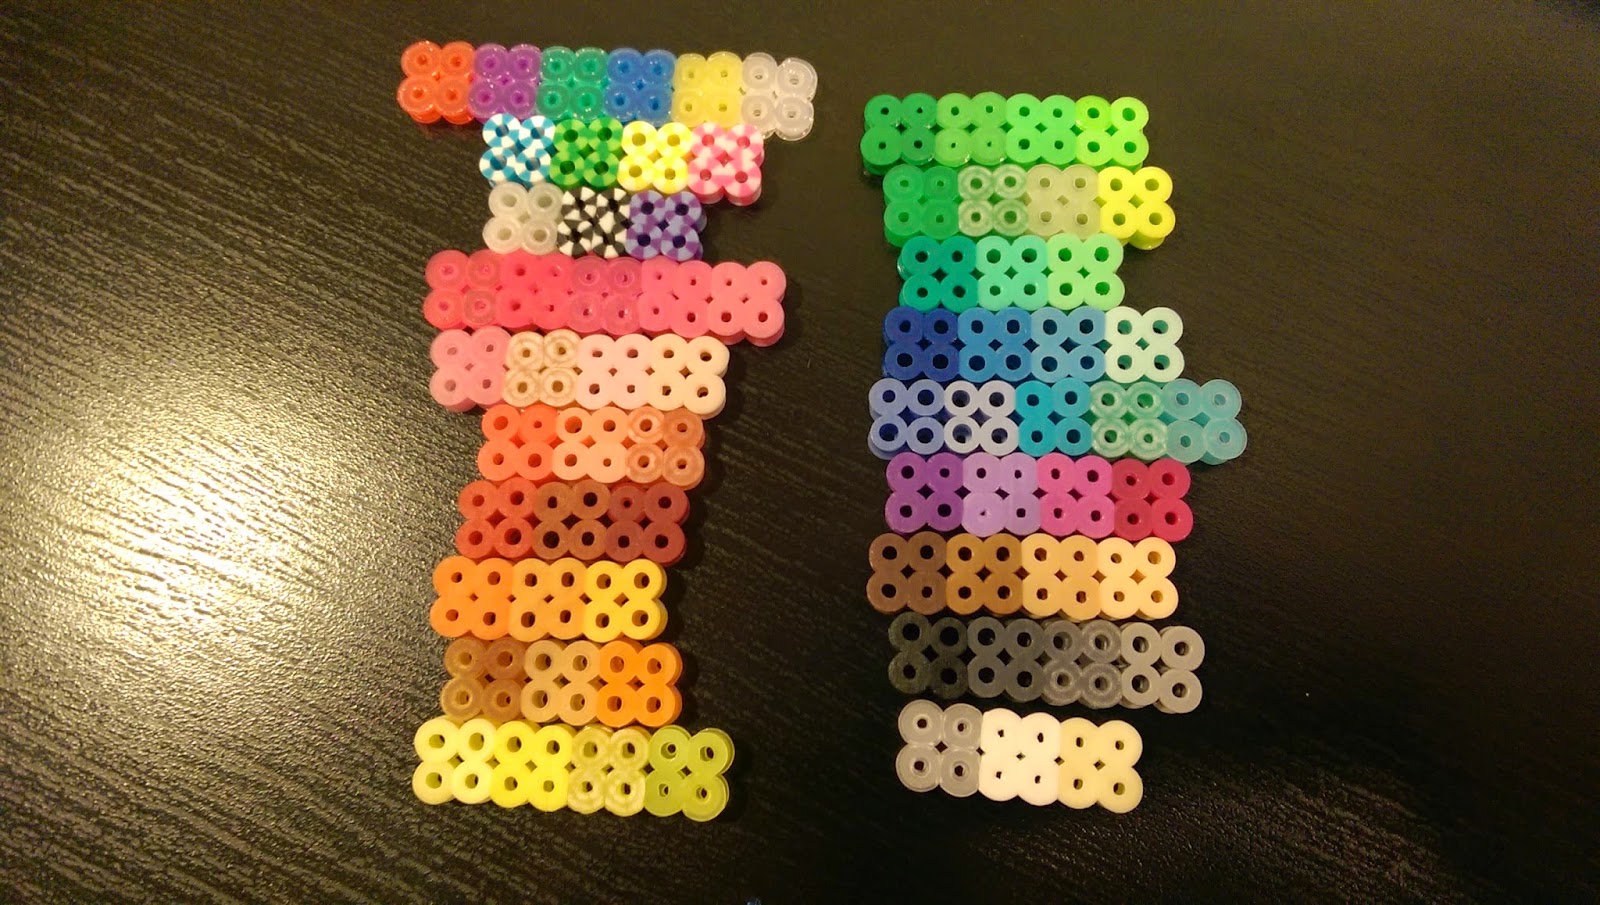
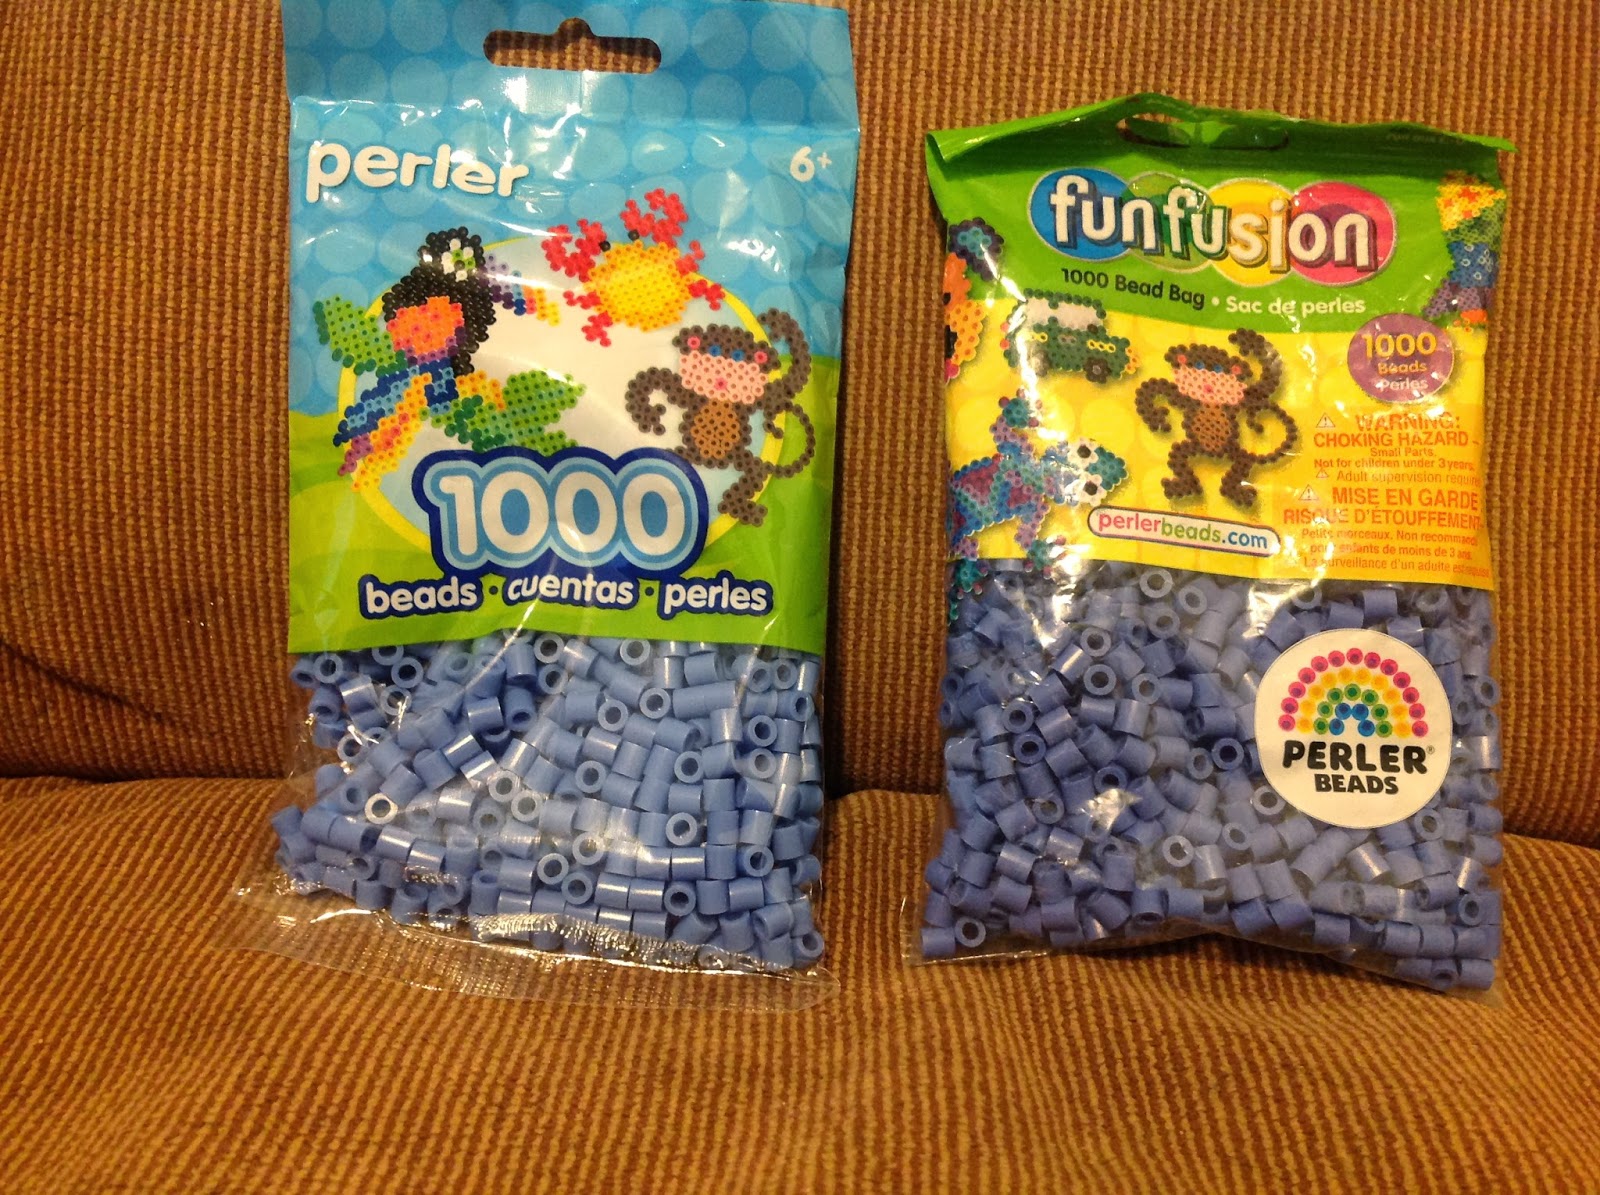
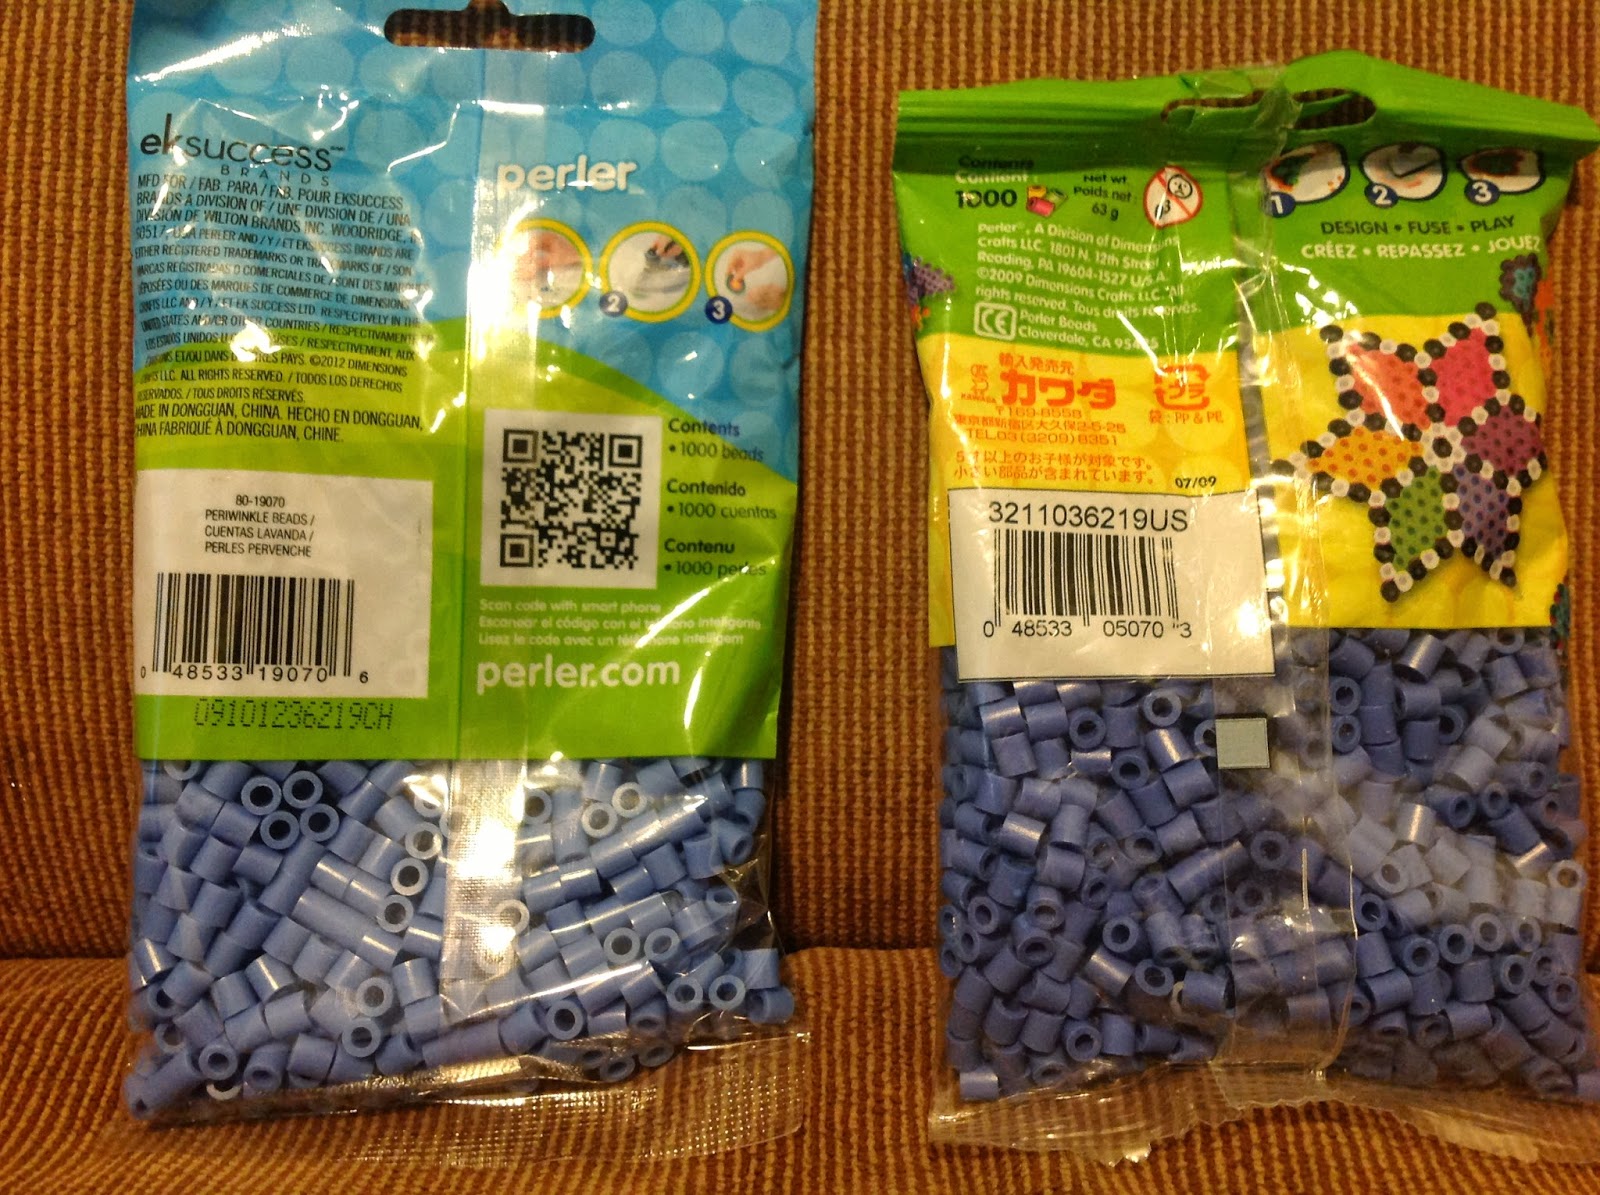
One more piece of advice. I have, on occasion, found a (possibly knock-off) brand of Perler beads called Fun Fusion. I'm not entirely sure what the difference is, but do NOT buy the 1000 count bags of beads labeled Fun Fusion if you see them. They melt differently than Perler beads and look, in my opinion, kind of ugly melted. The big tip-off that you found Fun Fusion beads, besides the name, is that the back is in Chinese. Pictures below for your convenience.
The most annoying thing about these beads is they are ALMOST the same color as the perler bead equivalent, but just far enough off that you can tell if you look closely at a finished sprite that uses both. The beads pictured above are both supposedly periwinkle, but the ones on the right are clearly darker.
And that I think about covers it for buying beads. Also, I think this post is getting too long, so tune in next time for more info on trays, irons, parchment paper, and online resources! (And if you're lucky, a discourse on what colors of beads I think are worth buying!)