First things first: scope out some thrift stores to make this not cost an arm and a leg. Or maybe your closet if you are well stocked with accessories.
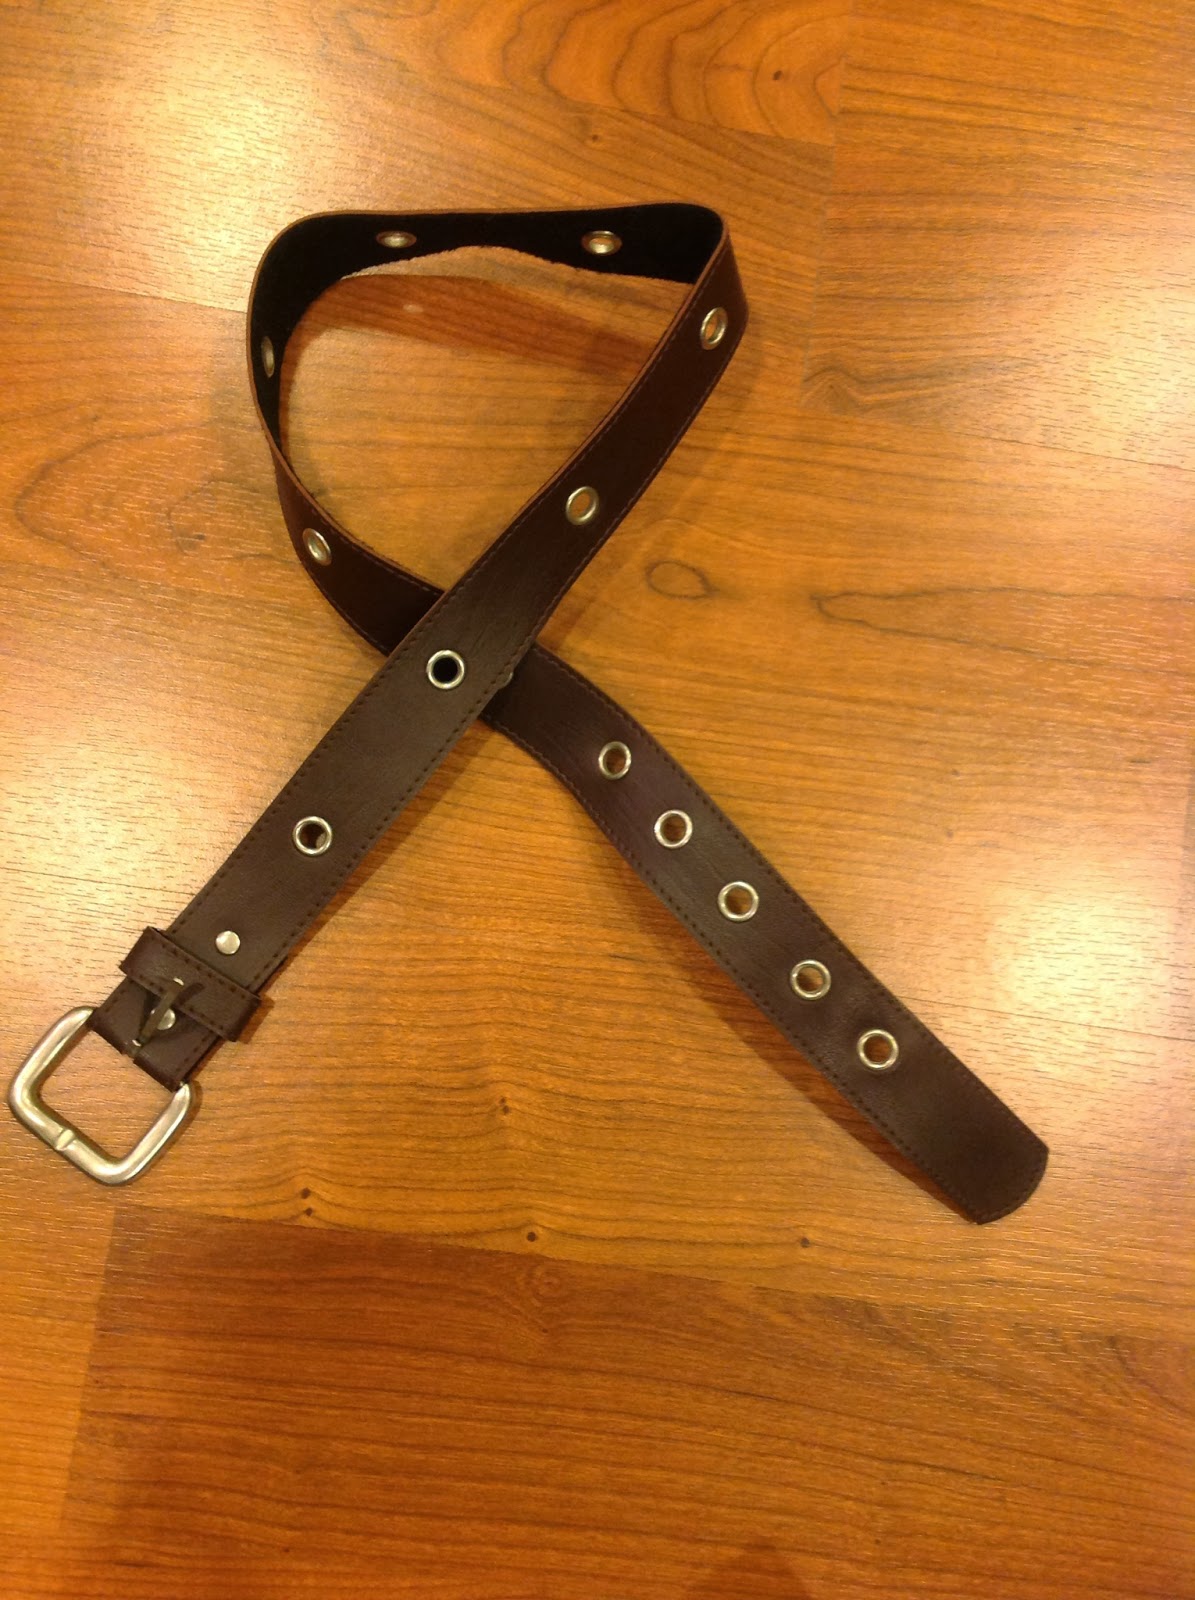 |
| A brown belt. Nothing flashy, just a normal brown belt, preferably at least an inch wide. You may already have one. |
 |
| And a small brown purse. It doesn't have to look like this; just something small that can be easily modified to add belt loops to slide onto a belt. |
Additionally, if you can find a super cheap beat up brown leather-ish bag that can be cannibalized, it's a great way to get cheap leathery type fabric that is just going to be used for small modifications, like so:
 |
| Adding belt loops to the back of a small brown purse |
 |
| And another shot of the belt loops |
The only other modification I made to the bag was I took off the shoulder strap. That's it. Slide it onto the belt, and you're good to go. Perfect for stashing business cards, cell phone, cash, etc. while you are out and about showing off your lovely costume.
Next we have her larger blue bag. For this, scout out the remnants bin at Joann's for some light blue duck cloth. It's durable canvas-like cloth that comes in all sorts of colors and is perfect for making satchels out of. You'll also want to consider getting some pretty fabric to line it; your choice, really, since nobody sees it but you. Oh, and you'll need some light blue thread (or a contrasting color like brown if you want the top stitching to be visible).

The bag is basically one long rectangle for the body, so you only have the seams up the sides to actually sew. And then the top stitching if you are extra ambitious.
 |
| Basic pattern |

To be honest, my sister in law figured out how to make these, so I can't really remember all the details. But I know we made it so that all the actual seams along the sides are inside the bag. It involved sewing each piece (outer part and lining) separately and inside out, and then sewing them together inside out, and then flipping it through a 2 inch hole before sewing up the hole. Then we top-stitched the front flap and edge showing in the upper left corner of the picture above.
 |
| front view of the strap |
 |
| view of the back of the strap |
I used this same technique to make Chrono's bag too, just slightly modified as far as the straps go:


His slides onto his belt instead of being a shoulder bag.
So there you have it. Some not very detailed tutorials on making bags/satchels.
No comments:
Post a Comment